
You know that sinking feeling. You’ve been working on a document for hours when suddenly you need to find an earlier version. You scroll through emails to find the file your colleague sent last week. Or worse, you accidentally save over someone’s changes and have to recreate their work from memory.
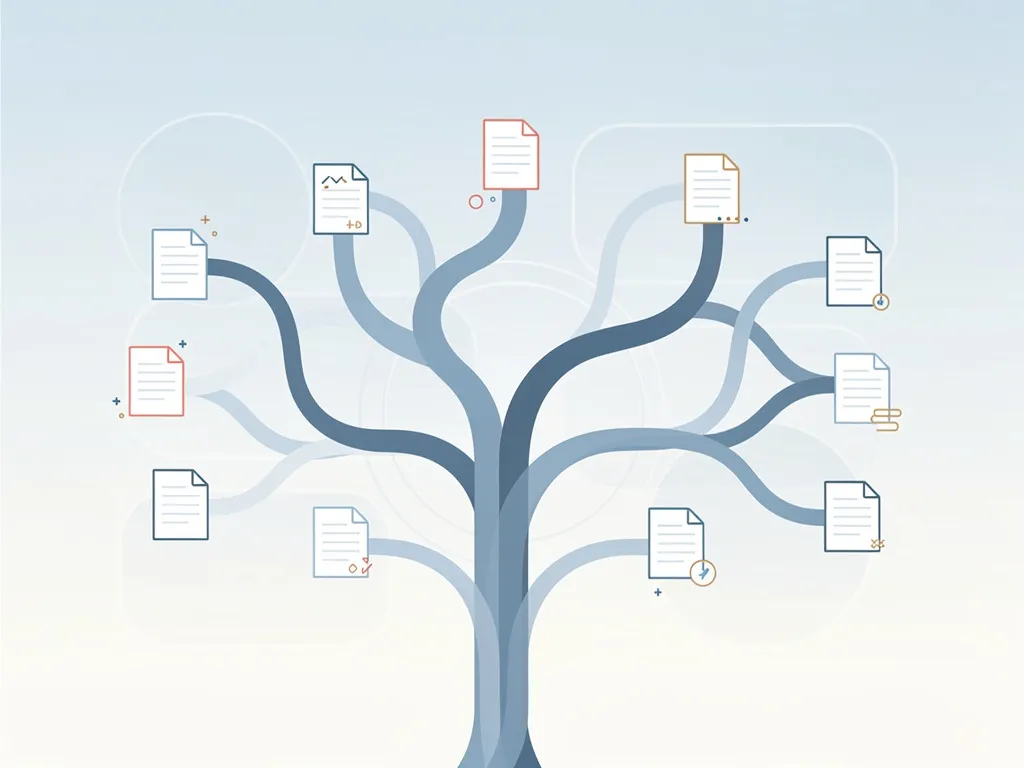
Jennifer Johnson from the Financial Times notes that most non-developers hear terms like “merge,” “pull request,” and “deploy” without understanding what they actually mean. This creates a communication gap between technical and non-technical teams.
But here’s the good news: you don’t need to become a developer to solve these problems. Git—the version history system developers rely on—works perfectly for tracking any digital files, from manuscripts to design assets to research notes.
This guide shows you how to use Git for version control on non-coding projects without writing a single line of code. You’ll learn the concepts, terminology, and practical steps to start tracking your work more effectively today.
What Is Git and Why Should You Care?
Git is a version history system that remembers every change made to your files. Think of it like the version history feature in Google Docs or Figma, but it works across your entire project folder and never expires.
GitHub is where your Git-tracked projects live online—cloud storage that lets you access files from any device and collaborate with others safely.
| Git | GitHub |
|---|---|
| The tool that tracks changes | The place that stores your projects |
| Like Photoshop (the editing tool) | Like Google Drive (the storage space) |
What Git Does for Your Work
- Never lose work again—every save creates a named snapshot you can return to anytime
- See exactly what changed, when it changed, and who changed it
- Try new ideas safely using branches without affecting your main project
- Resolve conflicts gracefully when two people edit the same thing
Who Is This For?
- Writers managing manuscript drafts
- Designers tracking logo and brand asset versions
- Researchers organising notes and source documents
- Students working on long-term projects
- Office workers managing documents and spreadsheets
Essential Git Terms Explained in Plain English
Before you can use Git confidently, you need to understand a few key terms. Here’s everything you need to know in plain English.
Repository (Repo)
A repository is the project folder that Git is watching over. Think of it as a smart project folder that remembers every change made to everything inside it.
Commit (Committing Changes)
A commit means saving a named snapshot of your files at this moment in time. It’s like creating a labelled bookmark in your project’s history. Every commit includes a short note explaining what you changed, so you can look back later and understand how your project evolved.
Branch (Git Branches for Workflows)
A branch is a separate copy of your project where you can experiment freely. Think of it like duplicating a page in Figma to try out a new design without risking the original.
- The main branch contains your final, polished version
- Branches are your experimental workspace where you can try new ideas safely
Push and Pull
- Push = uploading your saved changes from your computer to GitHub (the cloud)
- Pull = downloading the latest changes from GitHub to your computer
The golden rule: always pull before you push to avoid accidentally overwriting others’ work.
Merge
Merge means combining a branch’s changes back into the main project. It’s like flattening your experimental Figma page back into the final design file once you’re happy with the changes.
Gitignore File
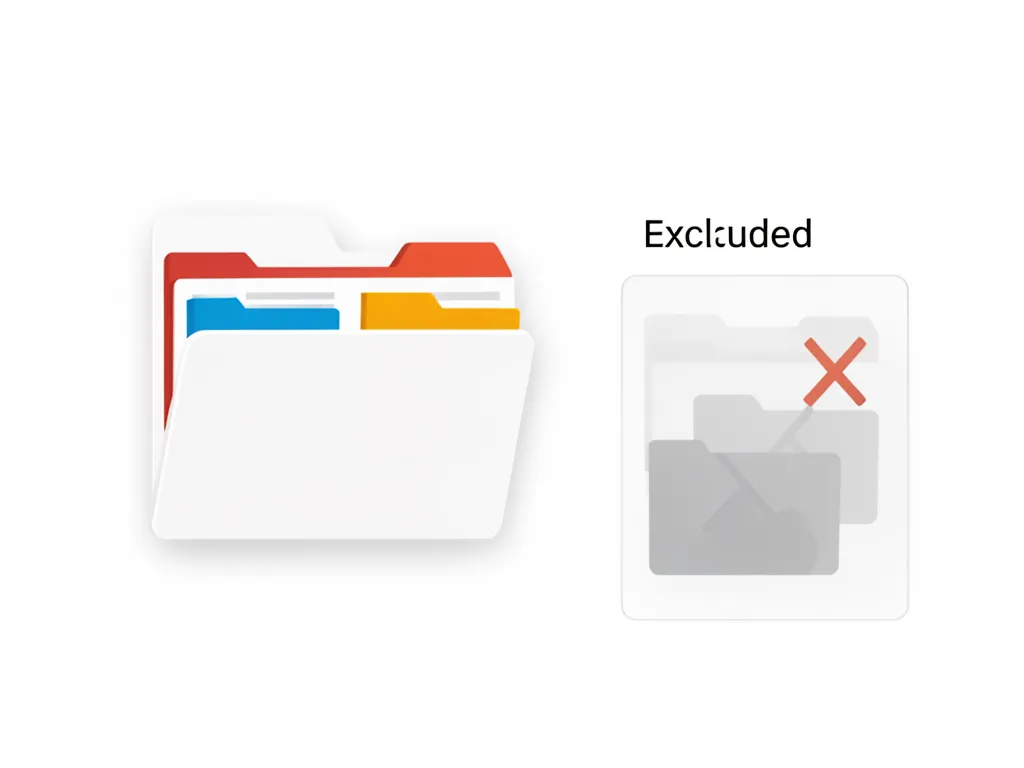
A gitignore file is a special file that tells Git which files to ignore—large image files, temporary drafts, or personal notes you don’t want tracked. This keeps your repository clean and focused on the files that matter.
Three Misconceptions About Git That Hold Non-Coders Back
Many non-technical professionals assume Git isn’t for them. Let’s address the three biggest barriers that prevent people from trying it.
Misconception 1: “Git Is Only for Coders and Programmers”
Reality: Git is fundamentally a file-tracking tool. It doesn’t care what’s inside your files—code, text, images, or spreadsheets all work the same way.
Shakil Alam, who writes about Git for designers, puts it this way: “Git looks intimidating at first because developers often explain it in complicated ways. But for designers, Git is really just three things: a version history tool, a collaboration safety net, and a way to protect your work.”
You don’t need to become a developer to benefit from Git.
Misconception 2: “You Have to Use the Command Line”
Reality: Graphical user interfaces (GUIs) like GitHub Desktop, Tower, and SourceTree let you do everything with mouse clicks. These tools show you exactly what’s happening without requiring you to type a single command.
GitHub Desktop provides a clean, visual interface where you can see your files, commits, and branches just like you’d see folders and files in any application.
Misconception 3: “Git Is Too Complicated for Simple Projects”
Reality: Git’s safety net becomes most valuable precisely when projects get messy—which happens even with simple documents. The more versions you have, the more you need Git.
And here’s reassurance from the developer community: “Git rarely destroys work. Almost everything can be recovered.”
Real-World Examples: Before and After Git Workflows
Let’s look at three real scenarios where Git transforms how non-coders manage their work.
Example 1: A Writer Tracking Manuscript Revisions
Before Git (The Messy Workflow)
- Files named:
novel_draft1.docx,novel_draft2_FINAL.docx,novel_draft2_FINAL_v2.docx,novel_draft2_FINAL_v2_EDITED_BY_BETA.docx - Panic when an editor’s feedback conflicts with your own changes
- No clear record of what changed between drafts
- Difficulty collaborating with a co-author without sending files back and forth via email
After Git (The Organized Workflow)
- One repository with a clean timeline of commits:
- “Completed chapter 3 draft”
- “Incorporated beta reader feedback on protagonist motivation”
- “Shortened opening scene per editor’s suggestion”
- Use branches to experiment with different endings without affecting the main manuscript
- See exactly what changed in each draft with a side-by-side comparison
- Collaborate with editors by having them review specific commits
Example 2: A Designer Managing Logo and Brand Guide Versions
Before Git (The Chaotic File System)
- Files scattered across Dropbox, Google Drive, and email attachments
- Versions labelled:
logo_v1.ai,logo_v1_REVISED.ai,logo_v2.ai,logo_v2_WITH_TAGLINE.ai - Risk of someone accidentally using an outdated logo in a client presentation
- No way to track which version was approved for which deliverable
After Git (The Professional Workflow)
- Single repository containing all brand assets with a clear version history
- Branches for different client projects (
client-acme-rebrand,client-beta-website) - Each design iteration saved as a named commit with a description
- Final approved versions clearly tagged and protected on the main branch
Example 3: A Researcher Organising Notes and Source Documents
Before Git (The Fragmented System)
- Notes scattered across Word documents, PDFs, and paper notebooks
- Source documents renamed repeatedly to try to stay organised
- Difficulty recalling which sources were used for which arguments
- Collaboration with co-researchers resulting in conflicting file versions
After Git (The Centralised System)
- Repository for the entire research project containing:
- Notes in Markdown files (plain text that’s easy to write and format)
- PDFs and source documents organised in folders
- A clear commit history showing how arguments developed over time
- Branches for different chapters or themes
- Pull requests used to propose additions and receive feedback from research partners
Getting Started: Your First Git Setup in 5 Steps
Ready to set up Git? Here’s your step-by-step path to creating your first repository.
Step 1: Download and Install Git
Visit git-scm.com and download the installer for your operating system. Run the installer and follow the default settings—there’s no need to change any advanced options.
Step 2: Create a GitHub Account
Visit github.com and sign up for a free account. This becomes your cloud storage for all your projects.
Step 3: Download GitHub Desktop
Visit desktop.github.com and download the application. GitHub Desktop provides a visual interface that handles everything without requiring command-line usage.
Step 4: Create Your First Repository
- Open GitHub Desktop
- Click “Create a New Repository on Your Hard Drive”
- Name your repository (e.g., “my-first-novel-draft” or “client-logo-project”)
- Choose a location on your computer where the files will live
Step 5: Make Your First Commit
- Add a file to your new repository folder (a Word document, image, or text file)
- Open GitHub Desktop and see your file appear in the changes list
- Click “Commit to main” to save your first snapshot
- Add a commit message like “Added first draft of chapter 1” or “Added initial logo concept”
Expert Tips and Common Mistakes to Avoid
Here’s what you need to know to succeed with Git, along with the pitfalls to watch out for.
5 Tips for Success with Git
- Pull before you push — Always download the latest changes before uploading your own to avoid accidentally overwriting teammates’ work
- Write clear commit messages — Instead of “Updated file,” write “Revised introduction paragraph per editor feedback”
- Commit small changes frequently — Smaller commits make it easier to undo mistakes and understand your project history
- Use branches for experiments — Create a new branch before trying new ideas so your main project stays safe
- Don’t panic when conflicts appear — Conflicts (when two people edit the same thing) are not errors—Git is simply asking you to choose which version to keep
3 Common Mistakes to Avoid
- Skipping the pull step — This can overwrite teammates’ changes and create confusion
- Writing vague commit messages — “Made changes” or “Update” provides no useful history when you look back
- Editing the main branch directly — Always create a branch for your work to protect the final version
- Forgetting to push — Changes saved locally only exist on your computer until you push them to GitHub
Conclusion and Next Steps
Git is a powerful version control tool that non-coders can use to track changes, collaborate safely, and never lose work again. The three essential concepts to remember are:
- Commits — named snapshots of your work at specific moments
- Branches — safe workspaces for experimentation that don’t affect your main project
- Push and pull — syncing your work with the cloud
Ready to get started? Here’s your action plan for the next week:
- Download Git from git-scm.com
- Set up your first repository on GitHub Desktop using the step-by-step guide above
- Track one real project within the week
As Shakil Alam reassures newcomers: “The first time Git saves you from losing hours of work, you’ll wonder how you ever worked without it.”
Key Takeaways
- Git is a free version history tool that tracks every change made to your files
- GitHub is cloud storage where your Git-tracked projects are saved and shared
- You don’t need to code or use the command line to benefit from Git
- GitHub Desktop and similar tools provide a visual interface for all Git functions
- Key concepts to learn: repository, commit, branch, push, pull, merge
- Git is especially useful for writers, designers, researchers, and anyone managing digital files
- The golden rule: always pull before you push to avoid conflicts