
The Realities of Digital Privacy
Welcome! If you are preparing to pass your old computer on to a new owner, you are in the right place. Upgrading to a shiny new device is always exciting, but managing data security for old computers is a critical step that is often overlooked. Your computer holds years of memories, saved passwords, and highly sensitive files. Before you let that device go, your digital life needs to be thoroughly and completely cleaned out. If you are wondering how to safely wipe a hard drive before selling or recycling a PC, knowing the proper steps is your best defence against identity theft and data leaks.
Scenario: Offboarding a Company Laptop
Imagine this relatable scenario: A professional virtual assistant is offboarding from a contract, returning a company laptop, or perhaps even selling it second-hand to a local buyer. Their absolute biggest concern is leaving sensitive data behind. They need to ensure that absolutely no sensitive client data, private financial records, or personal login files remain on the device. Handing over a laptop with client data still buried in the hard drive is a massive professional risk.
Why This Guide Matters
Do not worry if you aren’t heavily technical—this guide is written for you! We will walk you through exactly how to clear your computer using built-in, completely free tools. You will learn the difference between standard deletion and proper wiping, and discover how to confidently erase your data using simple, jargon-free instructions.
The Science of Data Deletion: Why Hitting ‘Delete’ Isn’t Enough
Is Formatting Enough to Delete Files?
When people are clearing out an old computer, they often ask: is formatting enough to delete files? The short and simple answer is no. Standard deletion and quick formatting do not actually remove your actual files. Instead, your computer’s operating system simply deletes the invisible “roadmap” that finds the file. The actual data remains hidden on the drive, just waiting to be overwritten. Anyone with a basic, easily downloadable recovery tool can easily restore those “deleted” documents.
The Difference Between Formatting and Wiping
To keep your private data safe, you must understand the difference between formatting and wiping. Formatting simply organises a drive so it is ready to store new files, but it loosely leaves old data intact. Wiping, on the other hand, actively overwrites the old data with random junk data using multiple passes. This is the only way to prevent data recovery after wipe.
Table: Quick Format Versus Secure Wipe
To better understand the differences, let’s take a look at this comparison:
| Feature | Quick Format | Secure Wipe |
|---|---|---|
| Speed | Very fast (takes seconds). | Slower (takes minutes or hours). |
| Data Status | Left intact, only the index is deleted. | Fully overwritten and permanently destroyed. |
| Security Risk | High. Easy for anyone to recover files. | Low. Recovery is virtually impossible. |
| Best Use Case | Organising a brand-new external drive. | Preparing a PC for sale or recycling. |
Explaining Data Deletion vs. Data Destruction
Major cybersecurity authorities, like those writing the NIST guidelines and trusted experts at Krebs on Security, constantly warn that simple deletion leaves you incredibly vulnerable. Data destruction (which secure overwriting provides) guarantees ultimate peace of mind. Keeping this in mind is crucial for ensuring total digital privacy for professionals in a modern workforce.
Crucial Steps Before You Erase Anything
Backing Up Your Essential Files
Before you wipe anything, make sure you don’t lose the files you actually want to keep. Take the time to safely transfer your important documents to a cloud service (like OneDrive, Google Drive, or iCloud) or carefully copy them over to an external hard drive. Double-check your desktop, your downloads folder, and your photo albums before moving on.
Protecting Business Data on Personal Devices
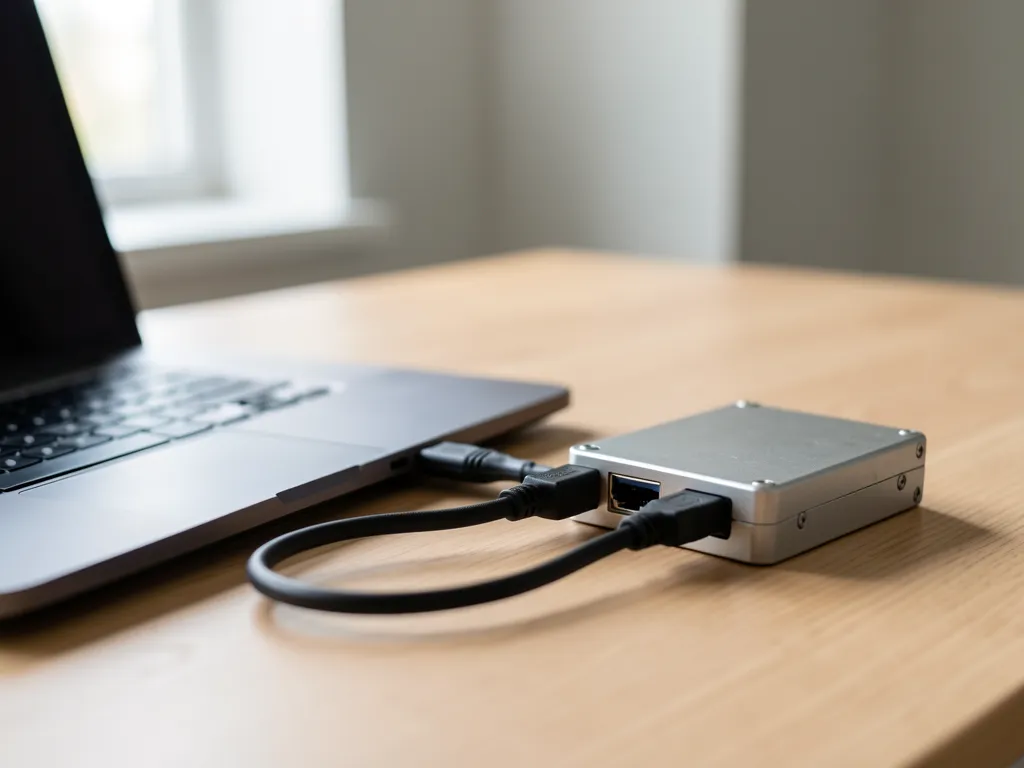
If you are a freelancer or remote worker, protecting business data on personal devices is a top priority. Take a moment to clearly separate your personal files from client work. Securely transfer all business-related files to a trusted, highly secure work server or an encrypted external drive. Never mix client data with standard personal back-ups, as this can breach privacy agreements.
Signing Out of Your Digital Accounts
Once your files are safe, you must sever the connections between your computer and your digital life. Be sure to sign out of these essential accounts to avoid licensing headaches for the next owner:
* Your central machine accounts (Microsoft accounts or Apple ID).
* Any connected digital software licences (such as Office 365 or Adobe Creative Cloud).
* Messaging apps (Slack, WhatsApp, Teams).
* Your internet browser profiles (Chrome, Firefox, Safari sync).
Windows Guide: Factory Reset PC Before Selling
Securing Your Windows 11 Disposal
If you are using Windows 11, Microsoft Support makes it incredibly easy to completely wipe your machine. Here is the verified pathway to safely factory reset PC before selling:
1. Open the Settings app.
2. Go to System and click on Recovery.
3. Next to “Reset this PC”, click the Reset PC button.
4. Choose Remove everything (this is vital for wiping).
5. Select Local Reinstall (unless you need a fresh cloud copy).
6. Click on Change settings and toggle “Clean data?” to Yes.
How to Reset Windows 10 for Sale
If you are operating on a slightly older machine, here is how to reset Windows 10 for sale safely:
1. Open up Settings.
2. Click on Update & Security, then select Recovery on the left menu.
3. Under “Reset this PC”, click Get started.
4. Select Remove everything.
5. Choose Local reinstall, then click Change settings.
6. Switch the “Clean data” option to Yes, which tells Windows to completely scrub the drive.
How to Wipe SSD vs HDD
You might be wondering how to wipe SSD vs HDD (Solid-State Drive versus Hard Disk Drive). The great news is that you don’t need extra software to figure this out! When you tell Windows to “Clean data” during the steps above, the operating system is smart enough to detect what kind of drive you have. It will correctly overwrite older HDDs and send a secure “block erase” command to modern SSDs, protecting the hardware while destroying the data.
Using a Windows Disk Management Wipe
If you aren’t selling the whole computer—perhaps you are just recycling an old extra internal drive or a USB thumb drive—you can perform a Windows Disk Management wipe. Right-click the Start button and open Disk Management. Right-click on the secondary drive you wish to clear, choose Format, and make absolutely sure you uncheck the “Perform a quick format” box. This forces a full format that safely overwrites the old data.
Mac Guide: Securely Erase Hard Drive macOS
Ensuring iCloud is Safely Disconnected
Apple devices have strict theft-prevention locks. If you don’t turn them off, the computer will remain permanently “Activation Locked” to the next user. Open your System Settings (or System Preferences), click on your name/Apple ID at the top, and click Sign Out. Be sure to turn off the “Find My Mac” feature when prompted.
Navigating macOS Sonoma Settings
For newer Apple computers (those with Apple Silicon or T2 security chips) running macOS Sonoma or later, it is incredibly easy to securely erase hard drive macOS. Apple provides a built-in Erase Assistant:
1. Click the Apple menu in the top left corner and open System Settings.
2. Click on General in the sidebar.
3. Select Transfer or Reset on the right side.
4. Click Erase All Content and Settings and follow the friendly prompts.
Performing a macOS Disk Utility Erase
If you have an older Intel Mac that lacks the modern erase feature, you will need to do a macOS Disk Utility erase.
1. Restart the Mac and immediately hold down Command (⌘) + R until you see an Apple logo. You are now in Recovery Mode.
2. Select Disk Utility from the menu.
3. Select your main hard drive (usually named “Macintosh HD”).
4. Click the Erase button at the top.
5. Click Security Options and move the slider to at least the second notch to securely overwrite old files, then hit Erase.
Essential Tips for Computer Disposal
Best Practices for Computer Disposal
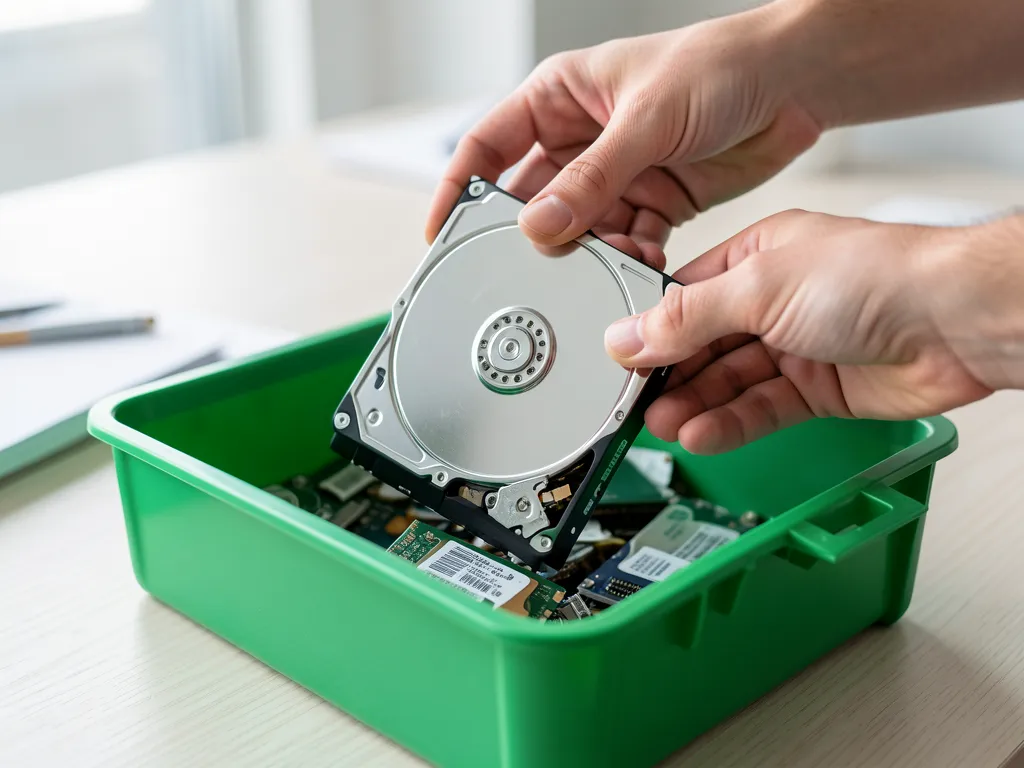
Once the digital side of your machine is thoroughly cleaned, you still need to prepare the physical hardware. Here are some of the best practices for computer disposal:
* Gather the accessories: Organise the original power cables, manuals, and adapters to include them with the sale or donation.
* Physically clean the device: Use a microfibre cloth and a tiny bit of isopropyl alcohol to wipe away fingerprints and keyboard grime.
* Find certified recyclers: If the computer is completely broken, do not throw it in the bin! Seek out certified e-waste recyclers in your local area who dispose of batteries correctly.
Top Tips for Securely Clearing Personal Information
Beyond the actual computer drive, you must focus on securely clearing personal information from the edges of your device:
* Unpair your favourite Bluetooth devices (like your wireless mouse, keyboard, and special headphones).
* Remove saved Wi-Fi networks if you are letting a friend or family member test the computer in your home before they leave.
Pro-Tip: Verifying the Drive is Empty
Here is a fantastic extra tip for absolute peace of mind: simply turn the computer on! Once the wiping process has finally finished, boot the computer up. If the drive is genuinely empty and successfully reset, you will be greeted by the exact same “out-of-the-box” setup screen you saw when first buying the device (e.g., a screen asking you to select your country and language). Once you see this, safely turn the machine off.
Common Mistakes to Avoid When Wiping
Trusting Third-Party ‘Shredder’ Apps
A very common mistake non-technical folks make is assuming they need to pay extra money to be secure. We strictly advise against paying for third-party “shredder” or wiping apps. The native, free operating system tools provided by Apple and Microsoft are incredibly secure and often actually safer than downloading unrecognised software.
Forgetting External Storage and SD Cards
It is shockingly easy to forget physical attachments. Always look closely at the sides and back of your computer to ensure you have carefully removed any hidden SD cards, small wireless mouse dongles, and connected USB drives.
Assuming ‘Deleted’ Means Gone Forever
We must reinforce our earlier lesson: never assume that dragging important files to the Recycle Bin or Trash is enough to officially factory reset PC before selling. A true reset requires actively telling the system to overwrite everything and rebuild the operating system from scratch.
Conclusion: Trade-in or Recycle with Confidence
Wrapping Up Your Data Security
Wiping your computer might sound like a highly technical task, but as we’ve seen, both Windows and Mac provide incredibly simple, built-in tools to keep your professional and personal data fully protected. By taking an hour to safely back up your files, log out, and carefully execute a secure wipe, you can hand off your old hardware with complete and total confidence.
Stay safe, and happy computing!